Friday, December 7, 2012

Corset boning channels... AND puppy

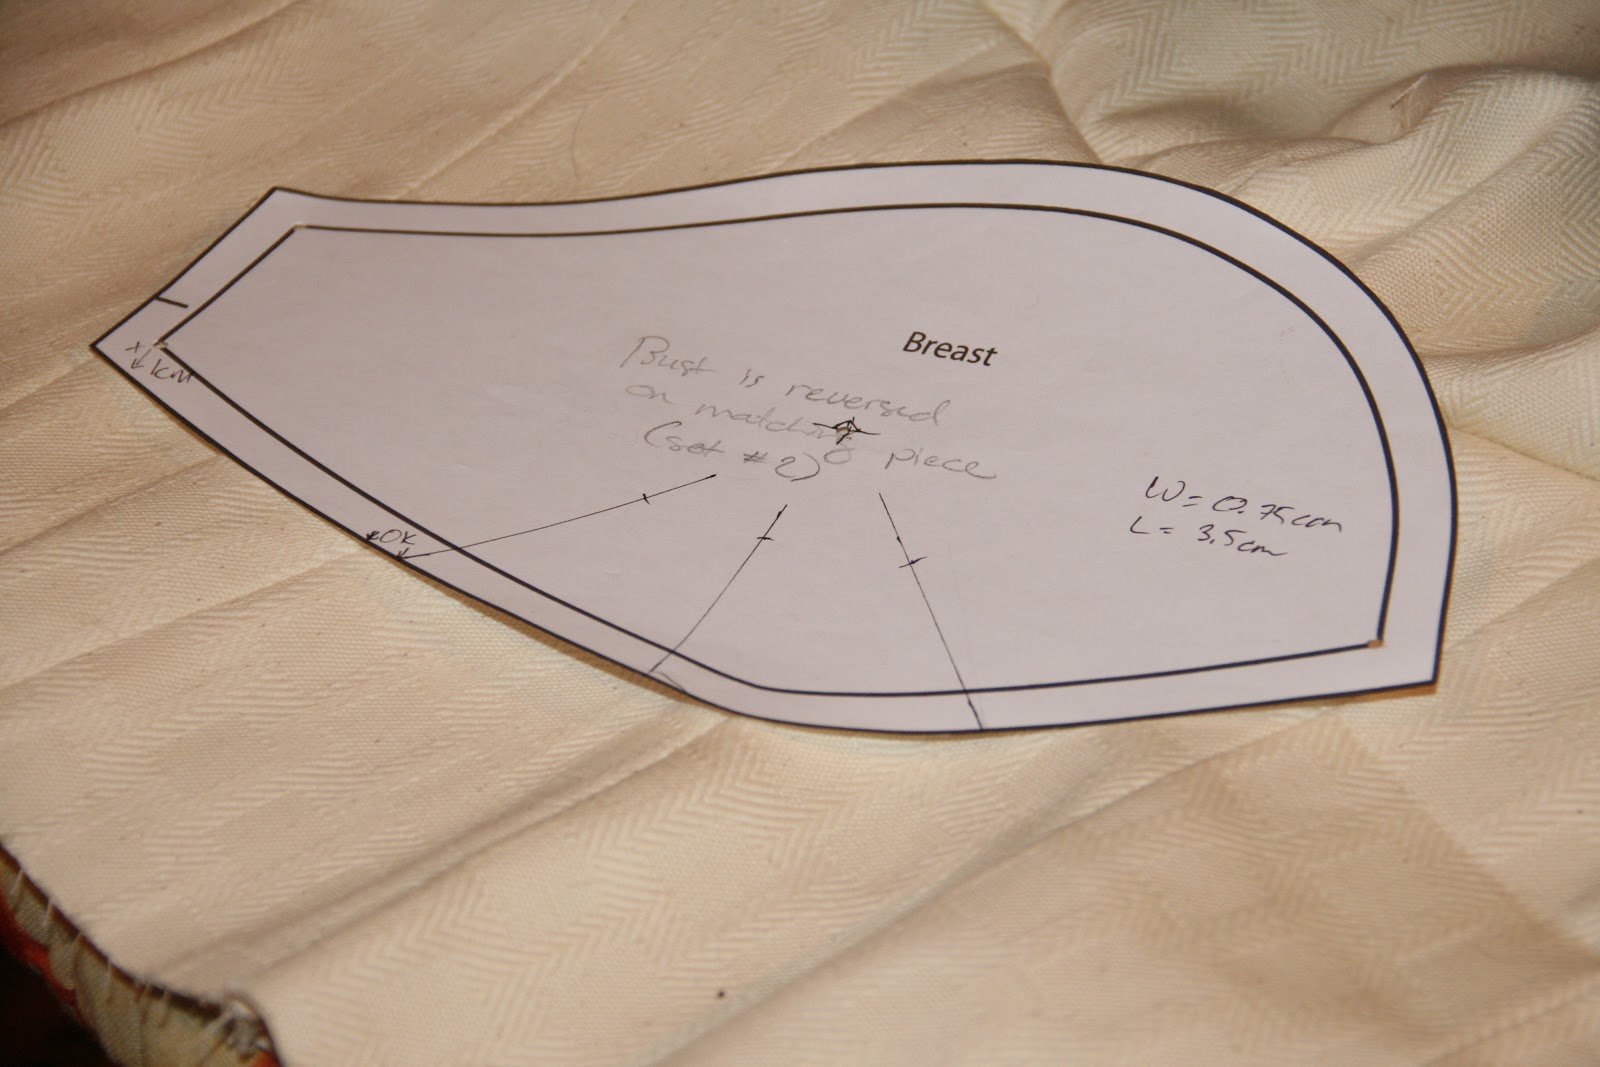
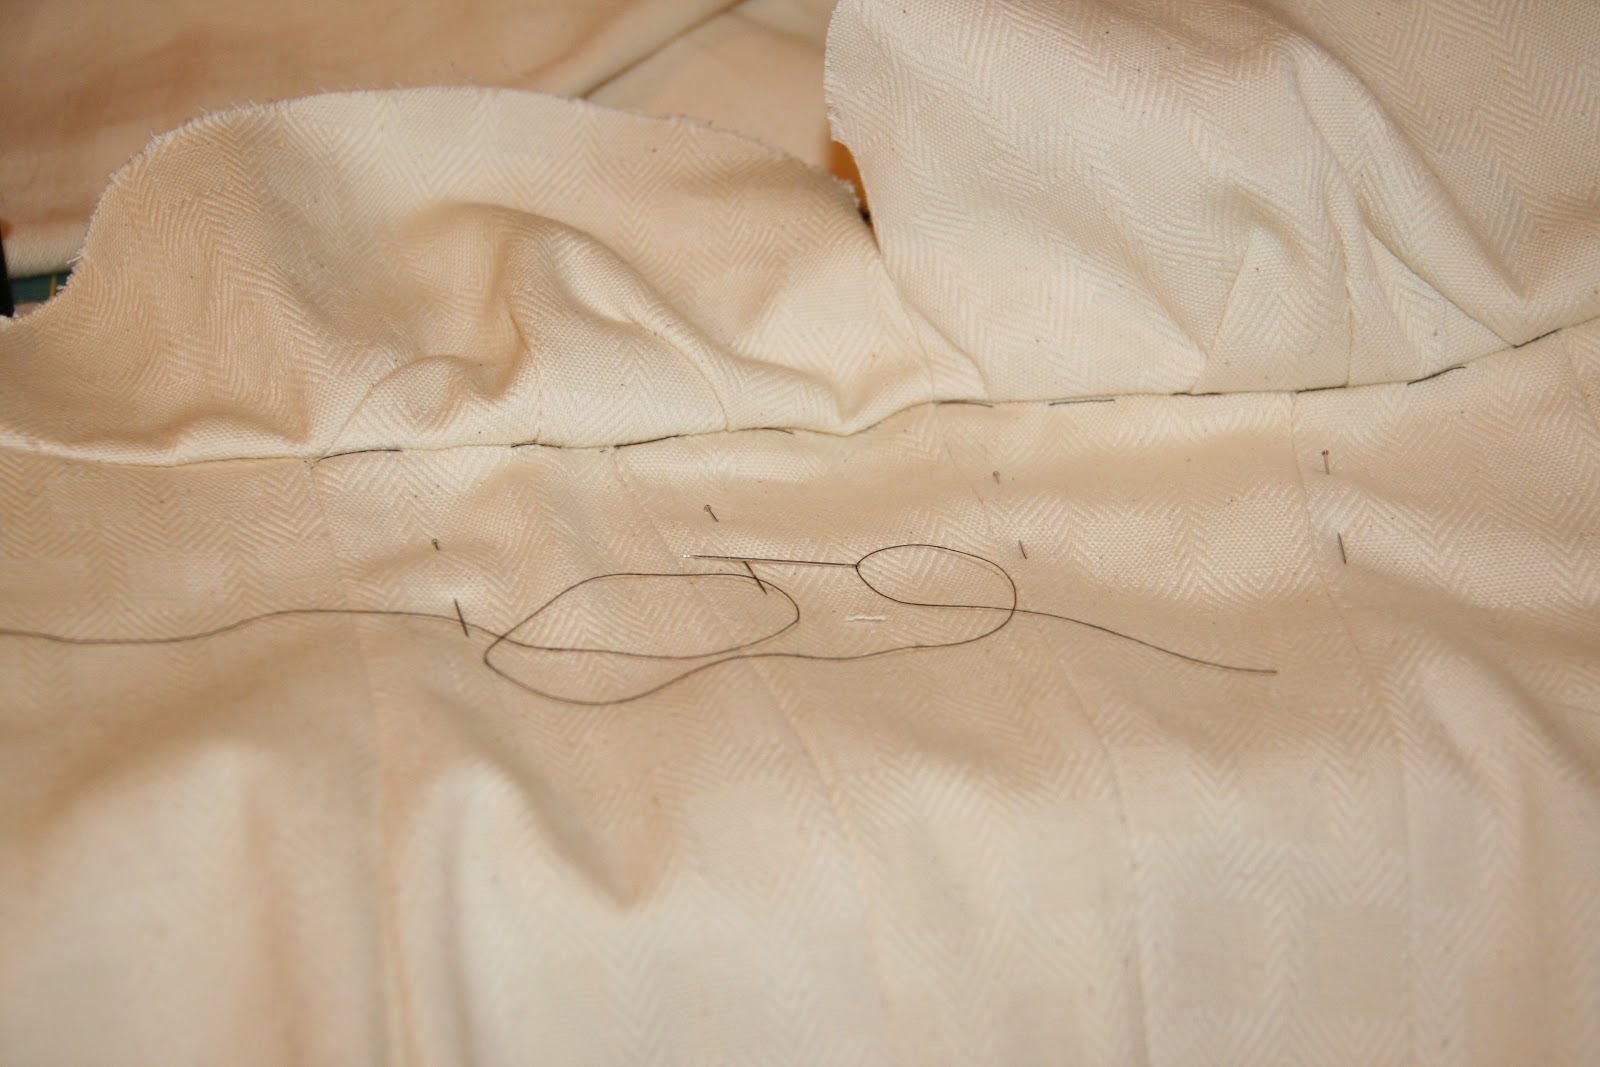
As far as boning channels go and this corset, I'm planning to put them along each seam. It'll add a lot of interest with heavier contrasting thread as well as support.  I also decided to put a channel up under the breast so hopefully I won't have to deal with finding a bridal bra.  Corset and bra all in one!  At right sewing the channel and below the finished result.  I purposely only sewed this into the sandwiched layers.  I didn't want this tunnel and stitching to show up on the taffeta part of the corset.


Next, after basting the taffeta layer on top of the other two, time to sew all the remaining channels.  There are going to be 9 in all!

Darn! Something is wrong with my machine! After I'd sewn two channels the thread started totally bunching up on the back side and I almost broke a needle! Luckily I was using a practice piece of fabric when the machine went on the fritz. First thing in the morning off to find a sewing machine consultant!!! Booooo!


Noooooo! While I was busy sewing my puppy was busy making more work for me :( 


I was sure it was her and not my boxer, even though he was sleeping on top of the mess! She had feathers on her sweet little nose!


Side note and corsetry...

 Here's just a little side note... my good friend Y is making this super cool necklace for me!  I found a great store in Florence, Kix, that sells absolutely everything you could ever need to make your own jewelry. Y and I laid out this design a few days ago and now she's hard at work making it happen.  Soooo excited!
So now that the skirt is done and looking pretty good, it's time to start the corset.  This is gonna be sooo cool!  I first cut out and sewed up the inner liner which is actually two pieces sandwiched together.  These two pieces will hold the steel boning - great stuff!  This type of boning is flexible both front to back and side to side.  Also, it won't melt if it's dry-cleaned.


 Here's the two sandwich pieces laying on top of one another. In the picture to the left you can also see the breast pattern piece with the darts outlined.  Another confusing task for me - where to put the darts, what angle, how many, how long...  Ugh!  That was ALOT of trial and error.
Next, getting the two pieces to line up. What a pain in the A-- job it was to be 100% sure that the pieces were exactly matched up for the boning tunnels to be sewn.  This material is Really thick.  It's used for upholstery so it will hold up to any pulling stresses that are placed on the corset - that is the point of a corset, right?


After the two layers were basted together nicely I got up the courage to sew the taffeta corset. Very exciting! Then this was laid on top of the sandwich and again basted in place.  I think all the basting layers together took about 3 hours.  Very tedious work, but then the next step becomes much easier - sewing the boning channels.

Friday, November 30, 2012

Details, details, details...

The lining went pretty smoothly and I really like the girly shine :)
There are lots of little details that I didn't really plan for... like lining, trim at the hem, waistband and zipper. I know it sounds absolutely ridiculous to "overlook" these important and vital details, but I've never done this sort of thing.  The little details that now seem obvious I sometimes overlooked, well at least initially.  Then when I hold up the skirt and realize... hmmm... it's sort-of transparent OR hmmm... how will I get this on without some sort of closure i.e. zipper?!  So the adventures begin...


Then came to deciding how and what to add for the hem.  I didn't really like the idea of using regular binding on such a pretty material.  I decided on a taffeta (yup, taffeta again) ribbon.  Probably not the easiest thing to work with but a really romantic and lovely finish.  I was happy with the choice, but I think a real seamstress could have made it look better.  I also discovered how important the needles you sew with are.  For silk and taffeta buy the smallest you can so you don't ruin your fabric with lots of tiny holes.

Here's the lining, trim and taffeta train.  I really like the contrast and femininity... so far.

Did I mention that I had overlooked a waistband?!  Ugh!  Hmmm... I had no idea where to start and certainly no idea how.  I decided to use the top edge of the patterns for the skirt and do it in two pieces, the front and the back.  I actually ended up with four pieces to make a tube structure and then attached it to the waist.  Thank God that after more guess work the skirt still fits!  

Oh, then after the waistband was in I realized that there was this awful fabric edge that was going to rub on my skin.  Soooo... more details... added basting too!

AND a zipper.  It was supposed to be an invisible zipper, but I had already sewn the lining to the taffeta so that wasn't going to happen.  Oh well, this pink taffeta skirt is only the base of the many meters of fabric that will be covering it... and what turned out not to be a very attractive zipper.  I'm too embarrassed to post the picture of the finished zipper :(

Sorry for the bad camera setting and Horrible color!


I don't know if you noticed or not, but I can't use pins on the taffeta.  I have to tentatively bast all the seams together using the tiniest of needles and fine thread.  I chose black thread so that it's easy to find and remove after I've sewn the seams.


Wednesday, November 28, 2012

Time to go shopping...


Sooo exciting! Looks like this little project is soon to become a big reality! But before I go spending big bucks on too much material I thought it'd be a good idea to do some estimating. I used some scraps to go around the skirt a couple times, please forgive the odd color combinations here, then I unwrapped and measured how many meters of fabric I'd used. My estimate was a bit crazy - something like 25 meters! Whoa! Flash back to the 60 degree angles in the skirt! What I realized in the end is that it is just too difficult to get a good grasp of how much fabric you need until you have it in your hands.
Oooooooo love taffeta!
So here's what we came home with... about 28 meters of total fabric, which included rose colored taffeta, ivory taffeta, blush silk organza, ivory lace, ivory tulle and all the thread and cords needed for lacing the corset and hiking up the skirt.

This feels way better than the first day at school with all my freshly sharpened pencils! Yes I sharpened them ALL the night before and I can still remember that smell :)


Ahhhh.... at last the real work begins.
One of the most difficult parts of the initial construction was deciding how long to make the train.  I want elegant and romantic without being tacky.  Then my friend Y said to me "just let it flow, go with what you feel", and that was it... I let it flow...

The bottom half...

Since we'll be getting married on NYE in NYC there's a good possibility that we'll want to go dancing. My thought is that I won't want to wear the big, frilly skirt all night long, but for sure I will want to wear the corset all night long! With this in mind, I've decided to construct the skirt as a separate piece.  Obviously there is no way I could use Illustrator to construct the skirt (well maybe) but then printing the  pieces would be a major problem.  So I just used the muslim to construct the skirt. Never having done this before it was ALOT of guess work.

For the initial waist line I used the mannequin and followed the bottom line of the corset.  Then I randomly choose an angle of 60 degrees for the flare, or basic shape of the skirt. I really didn't think at the time - wow! 60! that's sort of close to 90 right?! Duh!  That's ok.  Muslim's cheap!


Initial skirt with 60! degree angles all around
Well, the angle went from 60 to 30, then from 30 to 15, then I tapered down the side panels some more. After all was said and cut I ended up with about half as much material as when I started! That was really good news because now I was sure I had enough of my really pretty taffeta to construct the base - both the skirt and corset.

A little aside... the dressmaker's ruler that is very helpful to get the curves right for the waist, and hence the hemline, was incredibly expensive - 49 Euros!  I saw the same ruler at the wholesale market for just 14 Euros.  Is that kind of mark-up legal?!

But seriously... it is starting to look like a wedding dress, no? Or maybe I'm just being sappy and romantic :)


From Paper to Reality...

Here's the printed pattern pieces ready to be cut from the muslim.  You've heard of the saying "try it before you buy it" right? It's sooo true! I wanted to be sure I could pull this off before spending a bunch of money on really beautiful fabric. 


Even though when I put the corset on the mannequin it looked like it was going to fit perfectly, I wasn't totally convinced.  At first I just put in three eyelets on each side but it didn't lace up well, so I added a couple more.  Then I was convinced!  Time to go buy some fabric!!!

I can't tell you how difficult it was to find an awl here in Florence.  I think part of the problem was using the right word, but I swear even then it was tough. It takes determination to succeed at living abroad for sure.


In the hopes of keeping dog hair and dirt off of the dress I blocked the doorway entering our office and keep the door to the garden closed... I think they are both suffering from separation anxiety LOL! 


Saturday, November 24, 2012

Creating paper pattern...

Here's a better picture of the first step towards making a proper paper pattern.  Lots of pins!  I was really happy to have this model and not have had to pin paper to me or a tight t-shirt.  I have seen other examples where people have used a t-shirt but this method with a mannequin seems to be extremely accurate.


After I had traced from the mannequin and pulled off the pieces of vilene, they were then ironed onto regular paper - again per the Ralph Pink method. I was a little worried about fire or at minimum burnt paper, but as you can see this wasn't a problem.
I took these sheets of paper with ironed on vilene to the copy center where they scanned them onto a pen drive.  I then opened them in Illustrator.  This is where it gets complicated. You'll need to be very familiar with Illustrator to do this part.  I used the Pen tool to trace the patterns, then checked to be sure everything lined up properly.  Finally, adjusted the pattern for my body - of course I don't have a plastic mannequin figure ;)  This part made me really nervous, seriously how was this actually going to translate to paper after all the steps, changes and adjustments I'd made?! 


BUT it did work! Thanks for those videos Ralph!!!